Before I start, a quick intro: I've been handling procurement and production orders for about six years. My team now calls me the 'checklist guy' because I've made—and documented—nine significant mistakes. This one is the most expensive. And it all started with a 4×8 foam board.
In September 2023, we had a booth at a regional manufacturing expo. The engineers wanted to display actual silicone rubber profiles—gaskets, seals, extrusions—so visitors could feel the material. The plan was simple: mount them on a large 4×8 foam board with our company branding.
We had two weeks until the expo. The graphics team handled the printed banner, and they suggested we use a 4×8 foam board as a rigid backing. The board arrived in one piece, white and smooth and dangerous.
Simple, right? I thought so. Five minutes of research would have kept me out of trouble. Instead, I skipped it.
The Assumption
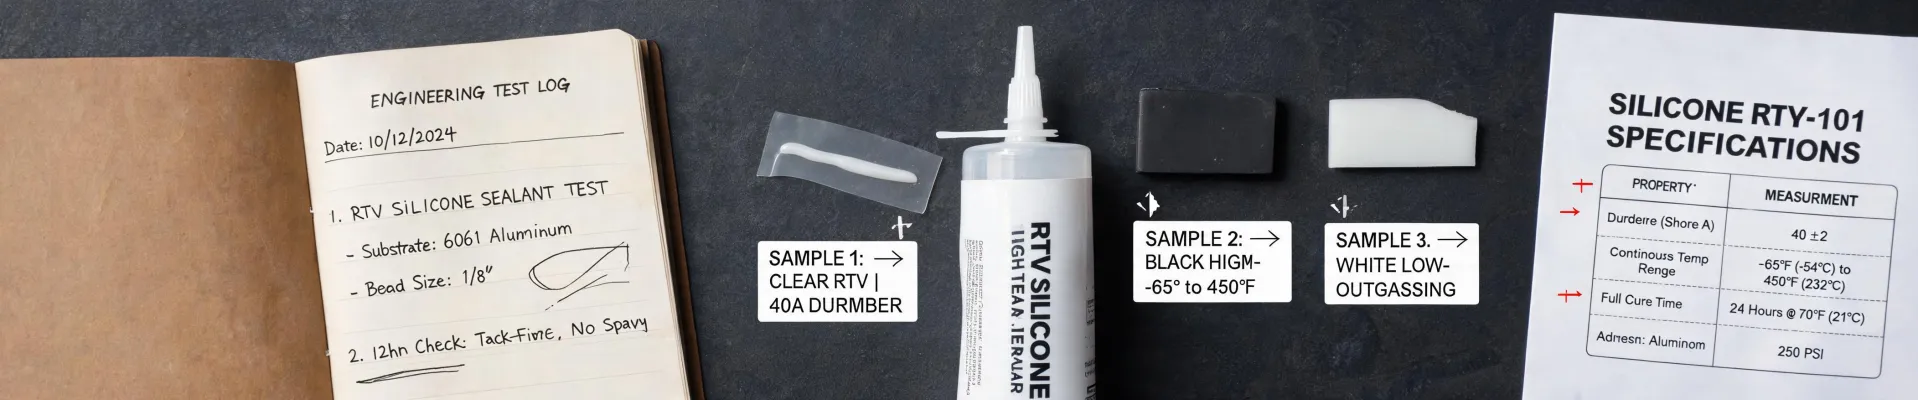
I chose a tube of Momentive RTV silicone as the adhesive. My logic: it's silicone, we're bonding silicone. It should work. So I applied a bead to the back of each sample, pressed it onto the board, and let it cure overnight.
That was a mistake.
The next morning, the samples were hanging there—or rather, lying on the table. Every single one had peeled off. The foam board didn't even have residue marks. It was as if the silicone had never touched it.
I called my colleague Alan over. He picked up one of the fallen strips and turned it over. 'You used the silicone stuff?' he asked. I nodded. He shrugged. 'I figured it wouldn't stick. That board has a plastic coating.' I had no idea what he was talking about.
I stared at the board. Then I did the first smart thing that week: I googled 'what is foam board mounting.'
The search results were a mix of DIY crafts and print shop services. Most of them talked about mounting photos onto foam board with spray adhesive. None mentioned silicone rubber. I refined my search to 'silicone adhesion to polyethylene' and suddenly everything started clicking.
The Discovery
Foam board mounting is the process of attaching a printed image or object to a foam board. Most foam boards sold for signs and displays have a polyethylene (PE) film on the surface. It's what makes the board smooth and water-resistant. It also makes it nearly impossible for silicone adhesive to bond—because silicone and PE don't get along.
I checked my materials. Sure enough, the board spec sheet said 'PE coated face.' I hadn't read it.
Then I went down a rabbit hole. I read a Polyethylene News update about the material's low surface energy and why adhesives fail on it. I also hopped over to Momentive's website to review their Momentive silicone news section—and found a product guide that listed primed PE as a suitable substrate for their RTV silicone, only if you use a compatible primer first.
That's the moment I felt both stupid and relieved. Stupid because the answer was in the technical data sheet all along. Relieved because it meant the fix was doable.
Why Silicone and Polyethylene Don't Play Nice
Silicone has excellent adhesion to many materials—glass, ceramic, some plastics. Polyethylene is not one of them. PE's surface is too 'slick' for an ordinary RTV silicone to grab onto. Untreated, the bond is purely surface-level and fails under even light peeling.
There are ways around it: corona treatment, flame treatment, or a chemical primer designed for silicone-to-plastic bonding. We ended up using a silane-based primer from Momentive, specific to the RTV product we had. Total application time: maybe ten minutes.
The Rework
We wiped down the foam board with a solvent to remove any dust and mold-release. Applied a thin coat of primer. Waited the recommended time. Then re-applied the Momentive RTV silicone to the samples and pressed them onto the board.
This time, they stayed.
I stress-tested the bond after 24 hours. I couldn't peel it off without tearing the foam board itself. That's a good bond.
The cost of my laziness? About $320 in wasted silicone and ruined samples, plus a second foam board because we'd scratched the first one from fretting. And a week of delay while waiting for the primer. In the trade show world, a week is an eternity. Altogether, that mistake cost us $890 in rework and credibility.
The Foam Board Mounting Lesson
By the way, if you're wondering what foam board mounting usually means in the print industry: it's the process of attaching a printed graphic to a foam board. Many online printers, including ones like 48 Hour Print, offer this as a standard product. The graphic goes on one side, and it's adhered with heat and pressure or a bonding agent. That part works fine.
The trouble starts when you try to mount something that isn't paper—like a silicone profile—using a silicone adhesive. That's where you need to check the board's coating and the adhesive's specs.
The Checklist I Use Now
I've mentioned before that I keep a checklist for everything at work. Since then, I added a 'Surface Compatibility' section for any mounting task. Here's the relevant part:
- What is the exact surface material? Cardboard, PE-coated paper, acrylic, something else?
- What adhesive does the substrate manufacturer recommend?
- If using Momentive RTV silicone, check the product TDS for a primer recommendation.
- Test on a scrap piece before committing to the real board. Simple rule, but it would have saved me.
This checklist has caught 47 potential errors in the past 18 months, by the way. Run the numbers: if each catch saves at least one day of rework, that's 47 days. I'll take that. And yes, the $890 number appears in the notes next to this section. It keeps me humble.
The Bigger Lesson
I initially thought my mistake was choosing the wrong adhesive. It wasn't. The mistake was failing to question my assumption that 'silicone onto foam board' would just work. The five minutes of verifying would have cost me almost nothing.
5 minutes of verification beats 5 days of correction.
Now I actually live by it.
If you ever find yourself reaching for a tube of silicone and pointing it at a 4×8 foam board, stop. Read the datasheet. Check if the board has a polyethylene coating. Look at the Momentive RTV silicone specs. Maybe even read a bit of polyethylene news—that material is everywhere, and its low surface energy is nothing new.
Better to look silly reading instructions in the middle of a project than to look foolish explaining to your boss why the entire display has to be redone. And if you're the one who gets to write the checklist, remember: every mistake you document is a problem someone else doesn't have to repeat.