If you're responsible for purchasing silicone sealant, rubber trim, or extruded silicone profiles for your company, you know the price gap between suppliers can be striking. But the real gap in cost isn't always in the per-unit price; it's in the fees that stack up after you sign the order. This checklist is for procurement managers, engineers, and maintenance leads who want to keep the total budget under control.
The steps below are based on the way I've handled sourcing over the past six years—about 200 orders, with cumulative spending north of $180,000. It's not perfect, but it saved me from at least a few genuinely bad deals. Follow these five steps, and you'll be able to compare suppliers with confidence and avoid the surprises that show up on the invoice later.
Step 1: Define your actual application requirements
Before you ask for quotes, write down what the material has to do. Not just a product category, but the real specs: temperature range, weathering resistance, hardness (Shore A), tensile strength, chemical exposure, and any certifications you need (UL, FDA, etc.).
- Momentive silicone sealant: Do you need neutral-cure or acetoxy-cure? Is the sealant going to contact metal, plastics, or glass? A wrong spec could cause corrosion or cracking.
- Silicone extrusion: Is it solid or sponge? What's the tolerance on the profile? For example, a gasket that's 0.5 mm off can fail to seal.
- Rubber trim: Is this for edge protection, vibration damping, or environmental sealing? That changes the material hardness and shape.
Write down your requirements and have them ready when talking to suppliers. Also, keep an eye on product news from major material producers like Momentive. They occasionally update formulations or introduce new grades. A quick search for "Momentive silicone news" might reveal a grade that fits your application even better—but don't switch specs just because it's new; verify it against your documented list.
Checkpoint: Have you written a concise spec sheet? If not, spend 30 minutes drafting one. It's the cheapest step you'll take.
Step 2: Calculate total cost of ownership (TCO), not just unit price
This is where most of us get fooled. The low-priced quote is rarely the cheapest overall.
When comparing suppliers, put these items in a spreadsheet:
- Unit price (with packaging included?)
- Tooling or setup fees (one-time)
- Minimum order quantity
- Shipping and handling
- Customs/duties if you're importing
- Expected shelf life and potential waste
- Testing or compliance documentation fees
- Return/rework costs if the material fails
In my first year, I made the classic error of comparing only the unit price. One vendor quoted $6.00 per unit, another $6.40. I almost went with the $6.00 until I added in a $500 mold fee and a $750 minimum-order requirement. The "cheaper" option actually cost 18% more in total. I've been doing full TCO math ever since.
Checkpoint: Does your comparison table include every item above? If not, complete it before moving on.
Step 3: Verify the vendor's pricing transparency
I've learned to ask "what's NOT included?" before asking "what's the price?" That single question separates transparent suppliers from those who hide fees.
Per FTC guidelines, claims about pricing and performance must be truthful and substantiated. But enforcement only goes so far. You still need to check the fine print.
If a vendor advertises a great price but then adds a "processing fee" or "documentation charge," that's a red flag. The supplier who lists every fee upfront—even if the total looks higher—usually costs less in the end.
Honestly, I'm not sure why some suppliers still hide fees in 2025. My best guess is they're counting on a percentage of buyers not checking. But as a buyer, you can protect yourself by asking for a full itemized quote.
Checkpoint: Do you have an itemized list of all charges, including potential additional fees (rush, split shipping, restocking)? If not, request one in writing.
Step 4: Get samples and test them yourself
Don't rely only on datasheets. Ask for real samples. Many suppliers offer them for free, though you may need to pay shipping. When the samples arrive, that's a good time to evaluate how they're packed. That's where the whole paper board vs foam board thing becomes relevant.
I went back and forth between a cheaper paperboard insert and a thicker foam-board insert for protecting silicone extrusions in transit. The paperboard saved $0.12 per unit, but after two shipments with damaged profiles from a different vendor, I decided the protection was worth the extra. A broken silicone gasket in a sealed package costs far more to replace than the $0.12 savings.
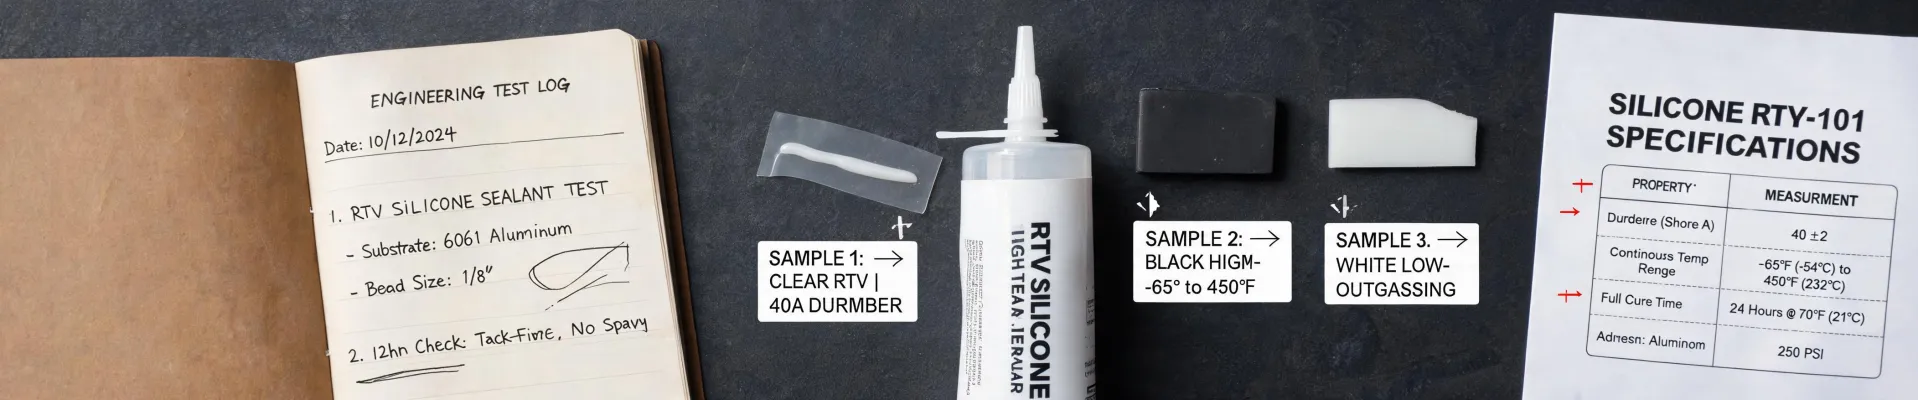
Beyond packing, test the sample in your actual application. Stretch the rubber trim, mount the extrusion, cure the sealant on a small test joint. Check if the hardness is within tolerance. A sample that looks right in-hand can still fail when exposed to heat or chemicals.
Checkpoint: Have you tested the sample under real conditions, not just examined it?
Step 5: Review the contract details and logistics
Finally, read the fine print before issuing a PO. Look for payment terms, lead times, penalties for late delivery, and return policies. Confirm whether the shipping cost quoted covers the actual dimension/weight of your order.
For small, lightweight items, a flat-rate USPS box can be the cheapest option. According to USPS's official pricing, flat-rate boxes are a flat cost regardless of weight, but only if your item fits and the box isn't overweight. For long silicone extrusions, a dimensional carrier like UPS or FedEx might be necessary—just apply the same TCO logic to shipping.
Make sure the contract states what happens if there's a hidden fee later. A transparent supplier won't have any trouble putting "no additional charges except those listed" in writing.
Checkpoint: Does your PO or contract explicitly exclude undisclosed fees?
Common Mistakes to Avoid
In the past six years, I've learned a few lessons the hard way. Maybe these will help you skip them.
- Chasing the lowest unit price. The total cost with tooling, minimums, and freight is what matters. Let a spreadsheet decide, not your gut.
- Ignoring shipping fees. A free sample with $25 shipping is not really free. Add shipping costs to your comparison.
- Skipping sample testing. A material that looks great in a photo can fail your application. I've been burned by assuming "standard" is the same everywhere—it isn't.
- Accepting verbal promises. If a supplier says "we'll cover that," get it in writing. Otherwise, you may find the charge on the invoice later.
This checklist won't guarantee you never overpay, but it'll make the process a lot more predictable. And when you find a supplier who's transparent about pricing and ships well-packaged samples, keep them—those are worth their weight in gold.